In this guide, we bring to you four distinct methods for installing engineered wood flooring. Suitable for both the professional installer and the DIY enthusiast, these methods are comprehensive and easy to follow.
In this guide, we bring to you four distinct methods for installing engineered wood flooring. Suitable for both the professional installer and the DIY enthusiast, these methods are comprehensive and easy to follow.
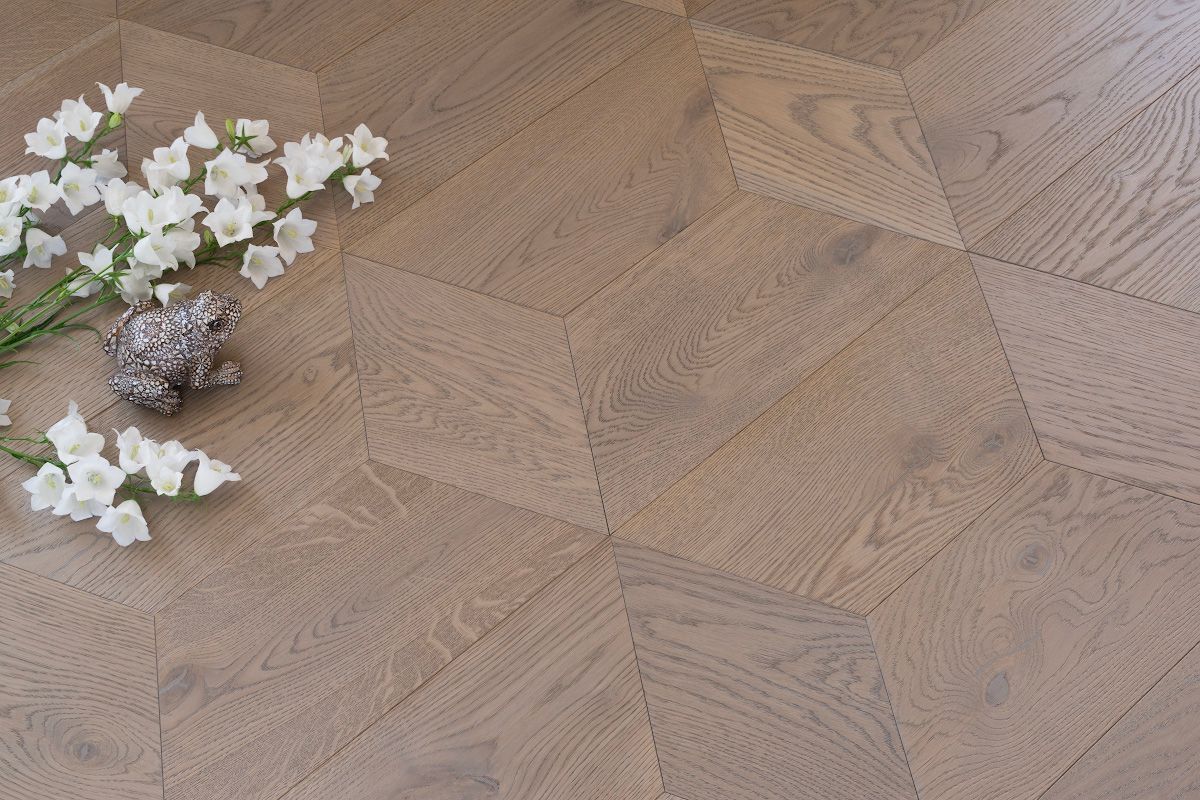
1. Floating Floor Installation
This is a widely favored method for engineered wood floors, known for its simplicity and effectiveness. The method involves locking planks together using their tongue and groove system, with some installations requiring glue.
Installation Steps:
- Start on a clean subfloor, using spacers to maintain a ¼ inch expansion gap from the walls.
- Begin laying the first plank at one corner of the room, working from left to right. Use tongue and groove glue if specified by the manufacturer.
- Cut the planks to fit when reaching the end of a row.
- Start the next row with leftover cut pieces to achieve a staggered, natural wood appearance.
- Ensure a tight fit for all planks, continuing down the room.
- Once installation is complete, avoid placing heavy items or furniture for at least 24 hours.
2. Glue-Down Installation
Ideal for high-traffic areas, this method adds extra stability to the flooring.
Installation Steps:
- Create a perimeter with spacers around the room.
- Apply adhesive in small sections starting from a corner.
- Lay the first row of planks, working from left to right.
- Tap the second row of planks into place.
- Use leftover pieces to start subsequent rows.
- Continue until the entire floor is covered.
- Remove spacers and install transition strips and molding as needed.
3. Nail-Down Installation
A robust method for those comfortable with using a nail gun, providing a very secure installation.
Installation Steps:
- Create a perimeter with spacers, leaving a ¼ inch gap.
- Lay the first row of planks with the tongue facing the room’s center, pre-drill, and nail down.
- Countersink the nails and fill with wood filler.
- Use leftover pieces to begin subsequent rows.
- Continue the process across the entire floor.
4. Staple-Down Installation
Similar to the nail-down method but using staples, offering a strong hold for the planks.
Installation Steps:
- Start with spacers to create a room perimeter.
- Lay the first row of planks, pre-drill, and secure with staples.
- Drive staples at a 45-degree angle above the plank's tongue.
- Continue until the entire floor area is covered.
Contact the Professional Team
Each method has its uniqueness but shares the common goal of ensuring a smooth, secure flooring installation. Choose the method that best suits your home environment and skill level. For any questions or further professional guidance, feel free to contact the FloorSure team!