Replacing carpet with laminate in a Toronto condo involves more than just pulling up the old floor. Condo board approval, acoustic compliance, and subfloor prep all need to happen first — here's the full process.
Carpet replacement is one of the most common flooring projects in Toronto condos. Whether you've inherited worn, dated carpet in a pre-owned unit or you're simply ready to upgrade to something cleaner and more modern, laminate flooring is consistently one of the top choices: durable, attractive, easy to maintain, and available at a range of price points.
But replacing carpet with laminate in a condo is not the same as doing it in a detached house. There are condo board approval steps, acoustic performance requirements, and subfloor conditions that all need to be addressed before the new floor goes down. Skip any one of them and you risk a removal order, a voided warranty, or a floor that performs poorly for years.
Here's everything you need to know before starting.
Why Toronto Condo Owners Are Switching from Carpet
The shift away from carpet in Toronto condos has been building for years, driven by a few clear factors:
Hygiene and air quality. Carpet holds dust, allergens, pet dander, and odours in a way hard flooring does not. For unit owners and renters dealing with allergies or asthma, this alone is often reason enough.
Lifestyle compatibility. Modern urban living — dogs, children, high-traffic entertaining — is hard on carpet. Laminate is far more forgiving: spills wipe up, scratches are surface-level, and the floor looks presentable for years longer.
Resale value. In Toronto's condo market, updated flooring is one of the most visible and valued improvements. Hard flooring is consistently preferred by buyers over carpet.
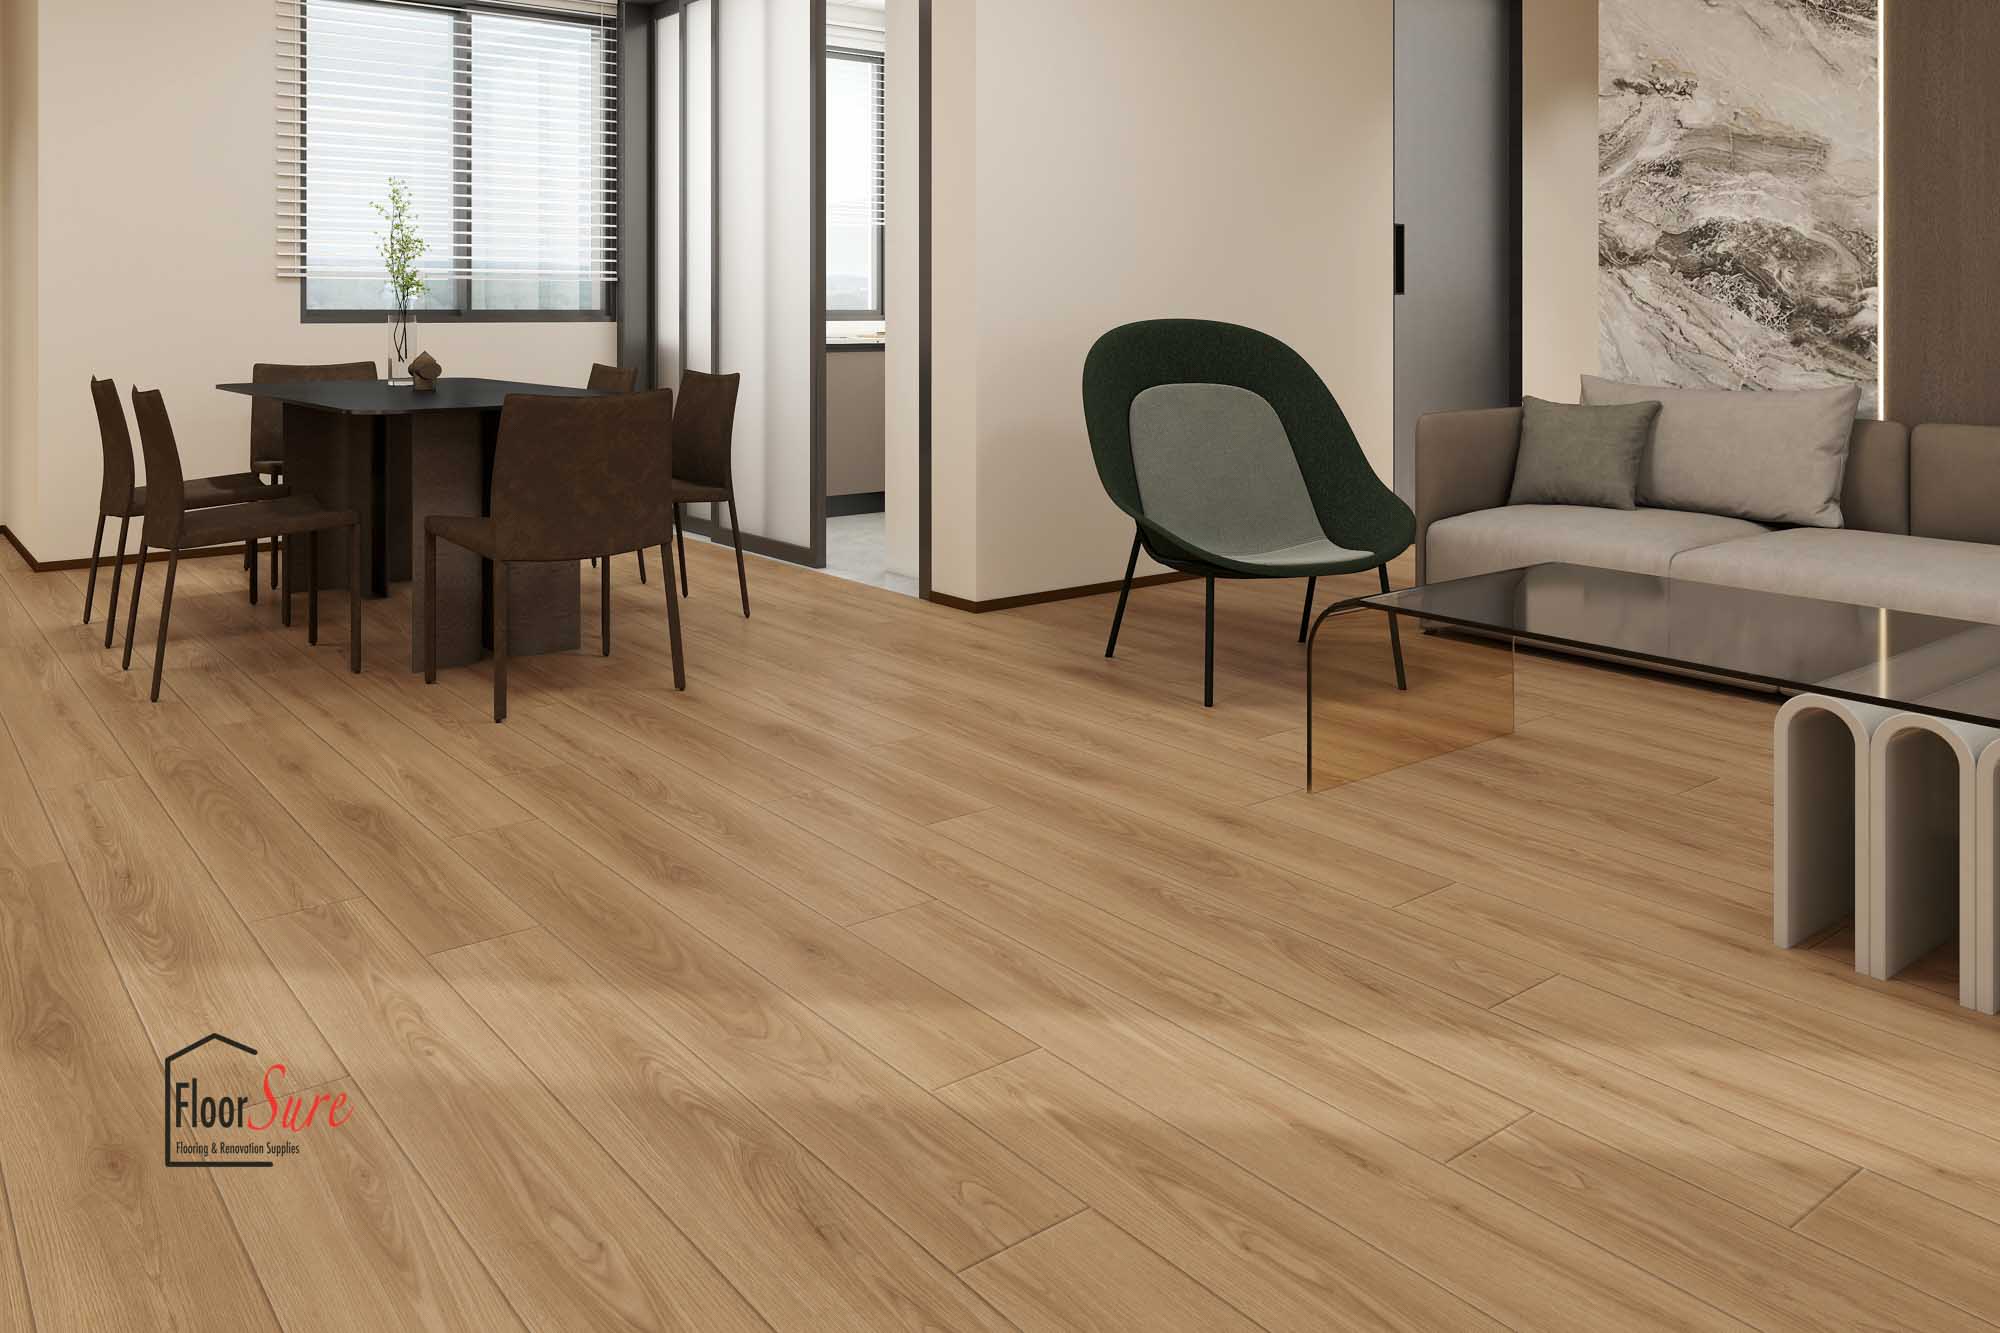
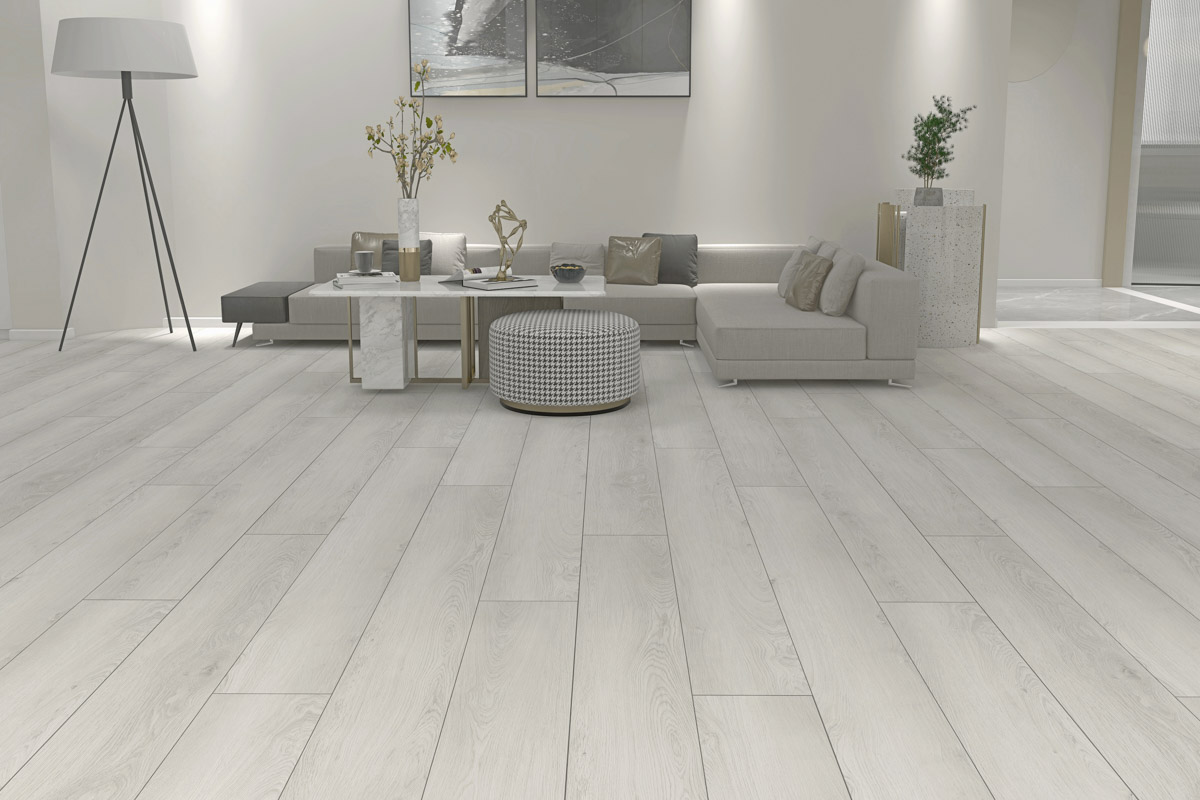
Aesthetic shift. Carpet feels dated in most contemporary interiors. Laminate, especially wide-plank wood-look options, fits naturally with the clean lines and neutral palettes that define Toronto's current interior design preferences.
What Condo Rules Apply When You Replace Carpet?
Before purchasing a single product, the first step is reviewing your condo corporation's flooring installation requirements. These are typically found in the declaration, rules, or bylaws — available from your property manager.
The key requirements you'll typically encounter:
Acoustic Performance Standards
This is the non-negotiable item. When you replace carpet with hard flooring, you're removing a natural acoustic buffer. Carpet provides a certain degree of impact sound absorption on its own; hard flooring does not. Your new installation must achieve specific IIC and STC ratings — typically IIC 55 and STC 55 as a minimum — through the combination of the laminate product and an acoustic underlayment.
Pre-Approval Submission
Most Toronto condo corporations require you to submit a flooring plan before work begins. This usually includes:
- The flooring product specifications
- The underlayment product specifications
- Third-party IIC/STC test reports showing the combined system meets the building's requirements
- Sometimes a deposit held by the condo corporation
Move-In/Move-Out Elevator Booking
Installation typically requires booking the service elevator. This needs to happen in advance — sometimes with significant lead time — to avoid scheduling conflicts.
Permitted Working Hours
Most condo buildings restrict renovation work to specific hours — typically Monday to Friday, 9 AM to 5 PM. Confirm this with your property manager before scheduling your installation crew.
The Step-by-Step Process for Carpet-to-Laminate Conversion
Step 1: Get Condo Board Approval
Submit your flooring plan with all required documentation before ordering materials or booking your installation. Approval timelines vary — some buildings respond in a week, others take three to four weeks. Start this process early.
Step 2: Select Your Laminate and Underlayment System
Choose a laminate product and underlayment combination that has been tested and certified as a system meeting your building's IIC/STC requirements. Your contractor should be able to confirm the certified pairing and provide the test documentation.
Browse our laminate flooring selection to see certified options across different styles and price tiers.
Step 3: Carpet Removal
The existing carpet and padding are removed. This is generally straightforward, but occasionally the carpet backing has bonded to the subfloor, requiring additional preparation work.
Step 4: Subfloor Assessment and Preparation
This is the step most homeowners don't anticipate — and it's frequently where unexpected costs arise. Once the carpet is removed, the concrete subfloor is inspected for:
- Moisture: Concrete subfloors in condos can have elevated moisture levels. If the reading exceeds the laminate manufacturer's tolerance, a moisture barrier or remediation is required.
- Flatness: Laminate requires a flat subfloor — typically within 3/16" over a 10-foot span. If the floor is out of tolerance, grinding high spots or applying self-leveling compound is necessary.
- Adhesive residue or fasteners: Old carpet tack strips, staples, or adhesive patches need to be removed or flattened before installation.
Step 5: Underlayment Installation
The acoustic underlayment is installed across the prepared subfloor. This is a precise process — overlapping seams, proper edge treatment, and correct coverage all affect acoustic performance.
Step 6: Laminate Installation
The laminate planks are installed using a floating method — planks click together and float over the underlayment without adhesive. An expansion gap is maintained around the perimeter of the room to allow for natural movement.
Step 7: Transitions, Trims, and Finishing
Transition strips are installed at doorways and where the floor meets different surfaces. Quarter-round or base shoe moulding covers the expansion gap at the walls. This finishing work has a significant impact on the final appearance and acoustic performance.
How to Choose the Right Laminate for a Toronto Condo
Not every laminate product is suitable for condo installation. Key selection criteria:
AC Rating: Look for AC3 or AC4. This indicates commercial-grade abrasion resistance — essential for entry areas and high-traffic routes within the unit.
Thickness: 8mm–12mm laminate performs better acoustically and feels more substantial underfoot than thinner options. In condo applications where acoustic performance matters, thinner laminate typically requires a more robust underlayment system to compensate.
Attached underlayment: Many laminate products come with pre-attached underlayment. Confirm whether this satisfies your building's IIC requirements on its own, or whether an additional acoustic layer is needed underneath.
Moisture resistance: Look for laminate with a waterproof core or moisture-resistant treatment, especially for kitchens and bathrooms.
Visual style: Wide-plank formats (5" and above) are currently the dominant preference in Toronto condo renovations. They make spaces feel larger and photograph better for listings.
How Much Does It Cost to Replace Carpet with Laminate in a Toronto Condo?
Costs vary based on unit size, subfloor conditions, and product selection. As a general guide for the Toronto market in 2026:
- Laminate flooring (materials): $2.50–$6.00/sq ft
- Acoustic underlayment: $0.80–$2.50/sq ft
- Carpet removal: $0.50–$1.00/sq ft
- Subfloor preparation (if needed): $1.00–$4.00/sq ft
- Installation labour: $2.50–$4.50/sq ft
- Transitions and trims: $15–$45 per opening
A typical 700 sq ft condo bedroom + living area conversion runs approximately $7,000–$14,000 all-in, depending on subfloor conditions and product tier.
The single largest variable is subfloor preparation. If the concrete is flat, clean, and dry, this cost is minimal. If leveling compound or moisture remediation is required, it can add significantly. A proper on-site assessment before quoting is essential.
Real Example: Parkside Village Laminate Conversion
One of our recent installations — a Parkside Village condo project — involved a full carpet-to-laminate conversion across a two-bedroom unit. The work included acoustic underlayment selection for IIC compliance, subfloor leveling in one bedroom area, and installation of wide-plank laminate throughout. The result was a dramatically updated interior that passed condo board approval on the first submission.
Frequently Asked Questions
Q: Do I need condo board approval to replace carpet with laminate? In virtually every Toronto condo, yes. Hard flooring installations require pre-approval because they change the acoustic characteristics of your unit. Check your declaration or call your property manager.
Q: Can I do the installation myself to save money? Technically, in some buildings, yes. But DIY installation of a condo flooring project creates real risk: if acoustic compliance isn't met, the condo board can require removal regardless of who installed the floor. Professional installation with documented compliance is strongly recommended.
Q: How long does a carpet-to-laminate installation take? For a typical 700–900 sq ft condo, the installation (after removal and subfloor prep) usually takes 1–2 days. Subfloor preparation, if needed, may add a day. Total project time from start to finish is typically 2–3 days.
Q: Will my downstairs neighbour complain about the noise once I switch to laminate? With properly installed acoustic underlayment that meets your building's IIC/STC requirements, the answer is generally no. Compliant laminate systems are designed to perform as well as or better than the original carpet for impact sound.
Ready to Replace Your Condo Carpet?
FloorSure handles the full carpet-to-laminate process — from condo board documentation to final installation — with WSIB certification and a 1-year workmanship warranty.
Explore our condo flooring service or call +1 (437) 988-0524 for a free on-site assessment. We'll review your building's requirements, recommend a certified product system, and prepare everything needed for condo board approval before any work begins.
Request a free quote online — we typically respond within one business day.